Create short, shareable videos by generating visuals in VideoGen, custom music in MusicGen, and editing it all in CapCut or Canva.


Want to create social media videos with AI that look and sound professional — without hours of editing? With Envato’s MusicGen and VideoGen, you can generate visuals and custom soundtracks in minutes, then finish your edit in tools such as CapCut or Canva.
Why combine AI video and AI music for social media videos
The real power of this approach lies in how the visuals and audio can be built to complement each other. A social video with a MusicGen soundtrack can convey the mood you want (e.g., calm or intense), while clips from VideoGen add the right energy or atmosphere.
1. Plan your AI social media video storyboard
Before you start generating anything, it’s worth planning the flow of your clip. For short-form content, you don’t need a detailed screenplay, just a rough plan for the shots and the words that will guide them. Don’t plan for too much content, though! For most social videos, the best length is usually between 15 and 60 seconds.
Video structure
A simple AI social video workflow might have three parts:
- Hook: A striking VideoGen clip that grabs attention in the first second.
- Middle: Visuals that add context or build the mood.
- Ending: A strong closing clip, maybe with text and a call to action.
Once you’ve worked out the flow, jot down the order of your clips. Keep it basic, just a few words or sketches to remind you what each scene should be. This is your roadmap for generating visuals in VideoGen later.
Add script notes
Under each shot, jot down what’s happening and anything you want to say or show on screen. This could be captions, short sentences for voiceover, or a few keywords to help with pacing.
Write a full script (optional)
If you like reading from a script, go ahead and write out exactly what you’ll say. Keep it tight so it matches the length of your video.
Plan for music
If you already have a music track or have created one with MusicGen, play the track and mark where the beat drops or changes. Those are great spots for scene transitions.
2. Generate AI visuals in VideoGen
Now that we have everything planned out, it’s time to bring it to life using VideoGen. It makes it super easy to turn your ideas into high-quality video content. No editing software is needed, and no production setup is required. When it comes to prompting, you can use this simple structure to get started:
[subject] + [action] + [setting] + [lighting] + [mood/genre] +
This will usually give you decent results. But if you’re looking for a more in-depth guide to creating prompts for AI artwork, check out our AI prompting guide for some inspiration.
Step 1: Access VideoGen
First things first, head over to Envato VideoGen and sign in with your Envato account. You’ll land on a clean, simple dashboard where you can start a new video.

Step 2: Aspect ratio and audio
Select the aspect ratio you want your final video to be. This will usually be 9:16 for a social media video. However, with 16:9, you can create videos with audio when you toggle the audio switch “on”.

Step 3: Generate or upload your first and last frame
Click the icons to upload or generate a preview image for your video’s first and/or last frame. You can:
- Generate an AI image based on your prompt
- Or upload your own images if you already have something in mind
These images set the tone and help guide how the AI builds the rest of the video (note that this feature is not available with audio).

Step 4: Write your prompt
Here’s where your prompt comes in. Add a detailed description of the scene you want to create in the prompt box.
Step 5: Generate video
For this video, we’ll be using this prompt:
A close-up shot of a rich chocolate fudge cake being slowly cut with a silver cake cutter, revealing its moist, layered texture. The scene is highly realistic, with detailed crumbs, melted chocolate, and soft lighting reflections. The background features a romantic, festive atmosphere — warm fairy lights, soft pink and golden tones, and gentle camera motion. The focus is cinematic, with depth of field, smooth transitions, and natural lighting that enhances the chocolate’s glossy surface.
Style: photorealistic, cinematic lens, macro food photography, shallow depth of field.
Mood: festive, romantic, elegant.
Camera: close-up, slow pan, and focus pull.
Lighting: warm, soft, golden hour tones.
Environment: cozy celebration table setting, subtle candles or twinkling lights in the background.
Click the “Generate” and let VideoGen do the heavy lifting. Once that’s done, simply download your video!
Step 6: Repeat for the remaining shots
Now just repeat the steps for each of the shots you’ve planned in your storyboard. Rename each clip with an order number to prevent confusion.
3. Create your AI soundtrack with MusicGen
Your clips are done, so let’s sort the soundtrack. We’ll use MusicGen to make it from scratch, no need to touch an instrument or mess with any recording gear. Just a few words in the prompt box and you’ll have music that fits your video in no time! When it comes to prompting, you can use this simple structure to get started:
[genre/style] + [instruments/sounds] + [tempo] + [mood/energy] + [extra details]
Step 1: Access MusicGen
Head over to Envato MusicGen and sign in with your Envato account. You’ll land on a clean dashboard where you can start a new audio project.

Step 2: Write your prompt
In the prompt box, describe the music you want. For example:
“Lo-fi hip hop beat with warm guitar and soft vinyl crackle, 85 BPM, relaxed and nostalgic.”
Include details about genre, mood, and any instruments you’d like.
Step 3: Use the dropdown menus
You can also use the dropdown menus below the prompt box to select options such as mood, genre, theme, tempo, and energy, rather than including them in the prompt.

Step 4: Generate your track
Click “Generate” and let MusicGen create your custom soundtrack. Listen to the result, if something feels off, tweak the prompt and try again. Once you’re happy, download the file and name it clearly.
Or you can poke around on Envato; there’s a bunch of royalty-free tracks there. Just hit play on a few until something fits.
4. Edit your social video in CapCut
You have your VideoGen clips and your MusicGen track; now it’s time to combine them. CapCut makes this easy, whether you’re on your phone or working in a browser.
Step 1: Start a new project
Open CapCut and tap Create Project. Select all your VideoGen clips and drop them into the timeline in the right order.

Step 2: Trim your clips
Review each shot and refine it to match your storyboard. Most clips for an AI social video workflow will only be 1–3 seconds long, so the pace feels snappy.
Note: Ensure you select the correct aspect ratio. For TikTok and Instagram videos, select 9:16 in the bottom right corner. You can also use the Social Media Preview button to see what it would look like on a device.

Step 3: Add your music
Import your MusicGen social video track and drag it onto the audio layer. If you’ve marked beats or drops earlier, line up your cuts so they land on those points.

Step 4: Add text or graphics
Tap the text tool for captions, quotes, or calls to action. You can also drop in logos or stickers to make it feel more branded.


Step 5: Tweak the transitions
CapCut has built-in transitions. Keep them simple so they don’t distract from the content. A quick fade or cut is often enough.

Step 6: Export for social
Tap Export and choose your format. For TikTok or Reels, go with 1080×1920 (vertical). CapCut will save it to your device so you can post straight away.

5. Design and export in Canva
If you prefer working with templates or adding more design elements, Canva is a great option for pulling your clips and audio together. You can use it on your phone, tablet, or in a web browser.
Step 1: Create a new video project
Open Canva and hit Create a design > Video. Choose the aspect ratio that matches your platform from the selection at the top.
- 9:16 for TikTok/Reels
- 1:1 for Instagram feed
- 16:9 for YouTube

Step 2: Upload your files
Bring in your VideoGen clips and your MusicGen social video track. Keep everything in one folder so you don’t have to hunt for files.

Step 3: Drop clips into the timeline
Drag your clips in storyboard order. Trim them down to match the pace you planned earlier in your AI social video workflow.

Step 4: Add your audio
Drag your MusicGen track onto the audio layer. If you want, use Canva’s audio editing tools to fade in at the start or fade out at the end.

Step 5: Layer in design elements
Add text overlays, stickers, frames, or shapes to enhance your content. Canva’s templates make it easy to maintain a consistent look without having to design from scratch.

Step 6: Download your video
Click “Share > Download,” located near the top right of the screen. Choose “MP4” and set the resolution (1080p is perfect for most platforms). You’re now ready to post.

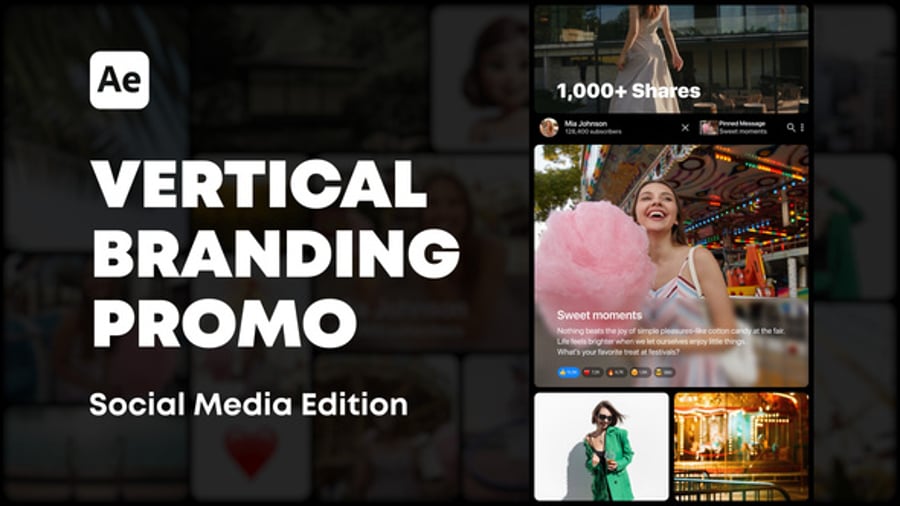
Social media templates from Envato
A great alternative to using Canva for creating social media content is to download a professionally designed template from Envato and customize it in your preferred editing software.
Envato offers a wide range of ready-made video and TikTok templates, as well as Instagram templates, featuring dynamic animations, stylish transitions, and modern layouts.


You’ve got the tools, now make the magic
You’ve just learned how to create social media videos with AI using Envato’s full AI toolkit. With VideoGen for visuals and MusicGen for sound, plus ready-to-use templates in CapCut and Canva, you can move from prompt to post in minutes.
With Envato’s full AI stack with tools like VideoGen and MusicGen, plus a full library of creative assets, you’ve got everything you need to create faster and smarter. From motion graphics to templates, it’s all in one place to help your ideas move from prompt to post in minutes.
The main thing is to start. Open the tools, make something small, and see where it takes you. You might be surprised how quickly a thought can become a scroll-stopping short.


